Create a Simple Poster in Photopea

|
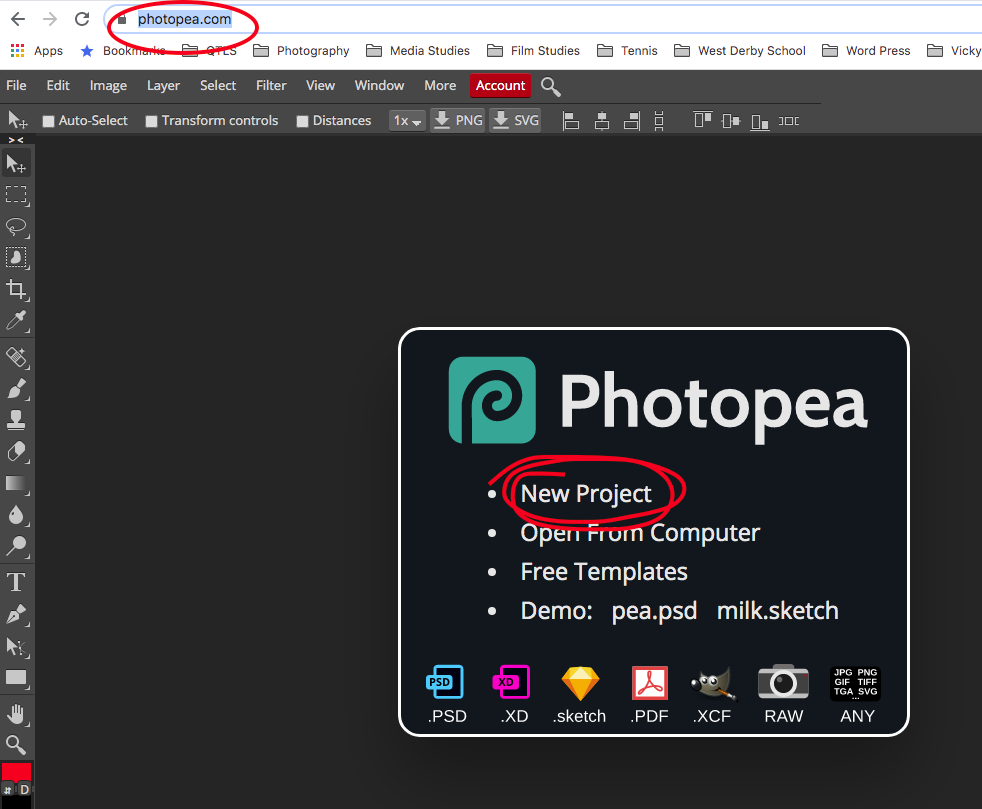
Photopea is an online alternative to Photoshop.
It works almost exactly the same as the version you use in School. |
|
|
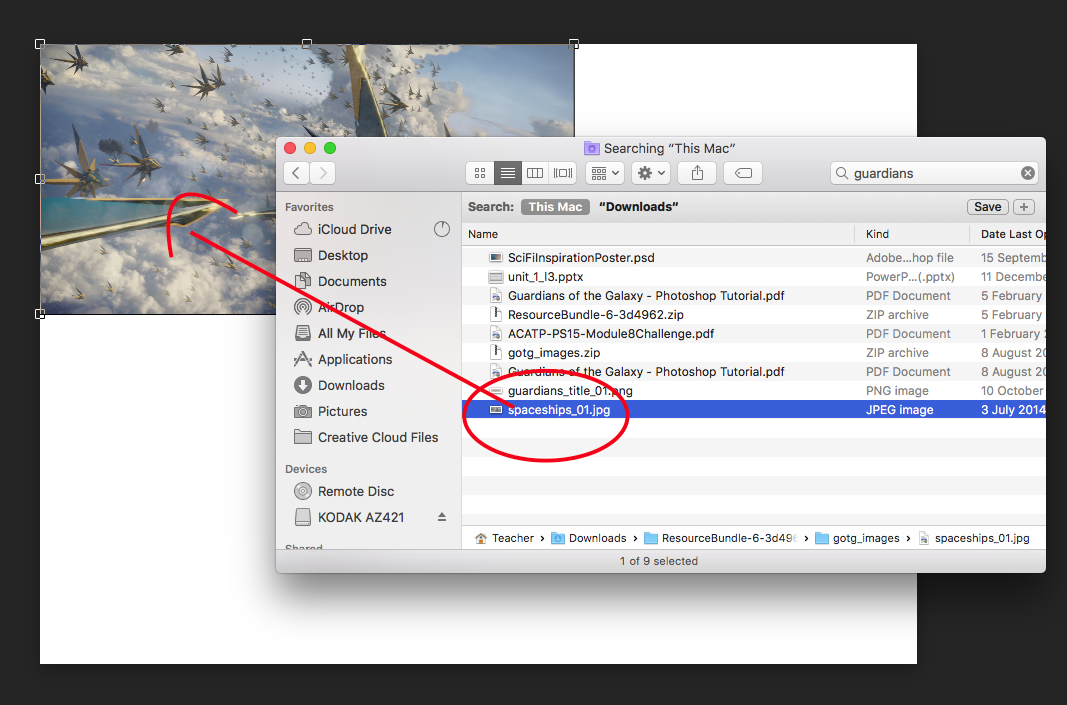
Download a background image. You can drag and drop it onto your document
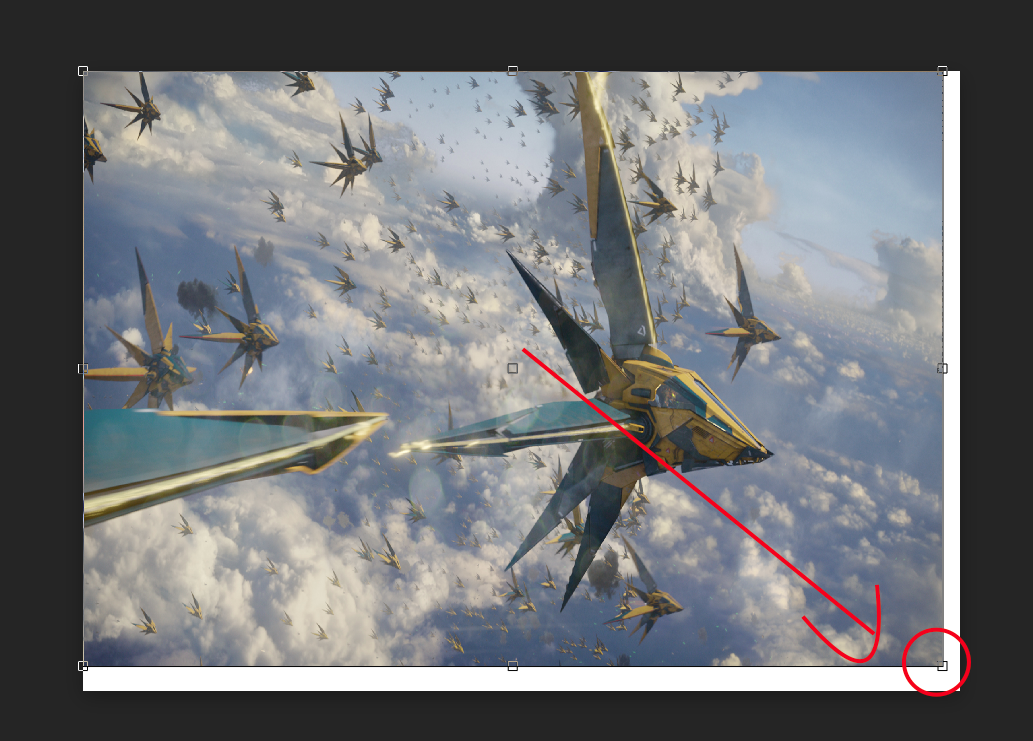
Click and drag to rescale your image. Press Shift so that is doesn't become distorted. Press enter. If the end result looks pixely then the image you have chosen is too small.
|
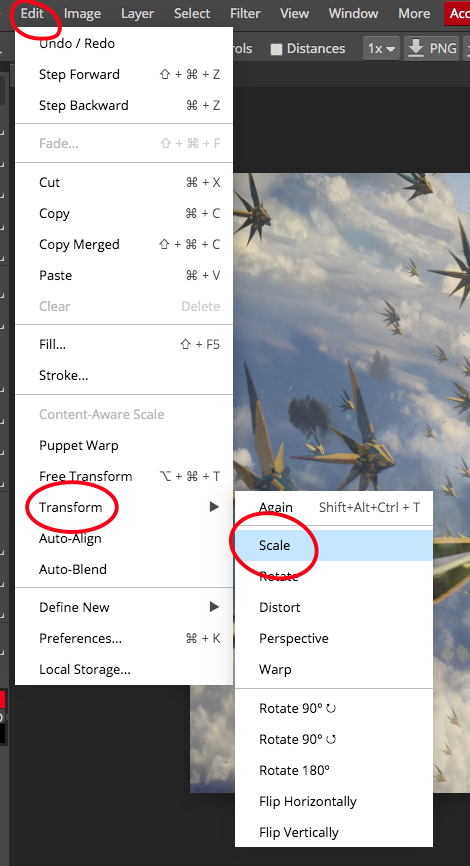
The transform command: |
|
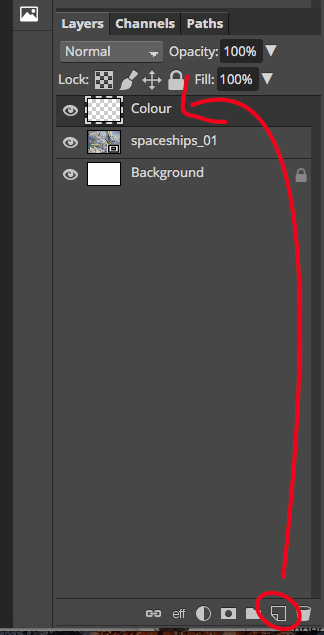
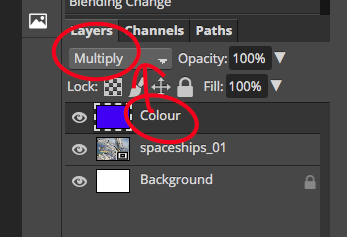
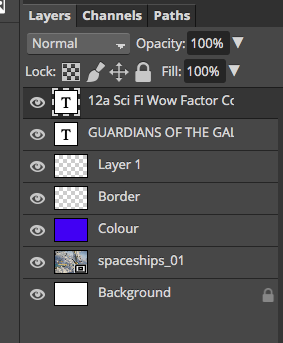
This is the layers palette. |
|
The colour layer is empty. |
|
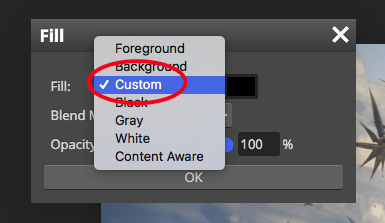
Choose Custom |
|
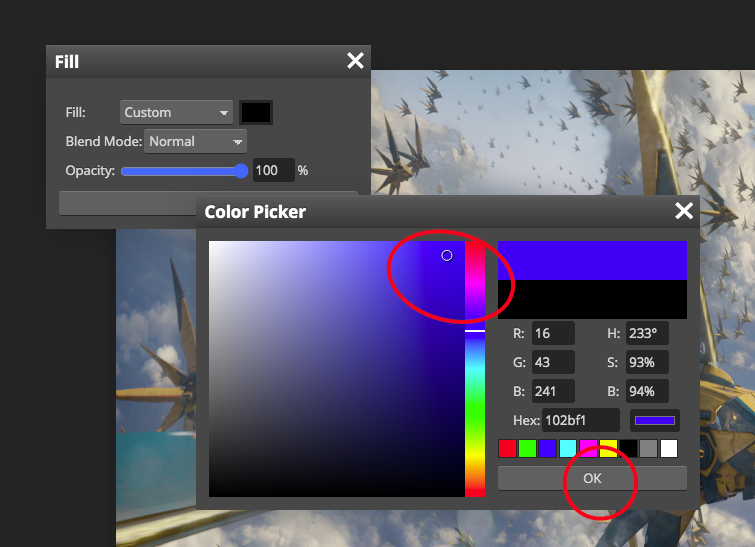
Now choose a colour. |
|
Go back to the layers palette. |

|
Lets add a border. |
Click on the Marquee Tool (Dashed Square)
Click in the top left of image and drag diagonally. Aim to fill the screen so that it looks like there is an empty border or frame round the image.
Use the arrow keys to place the border so it looks something like below.
If you make a mistake then click in the middle of the dashed box and start again.

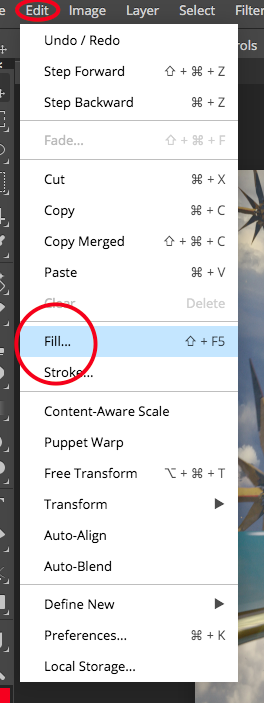
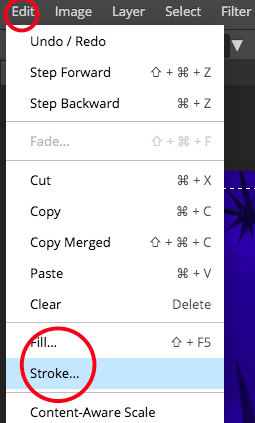
Click Edit > Stroke
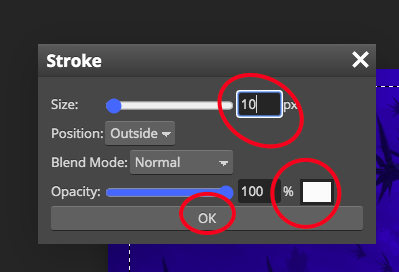
Choose 10px for the Border & White as the colour
Click Ok
Your border should now be stroked white.
|
|

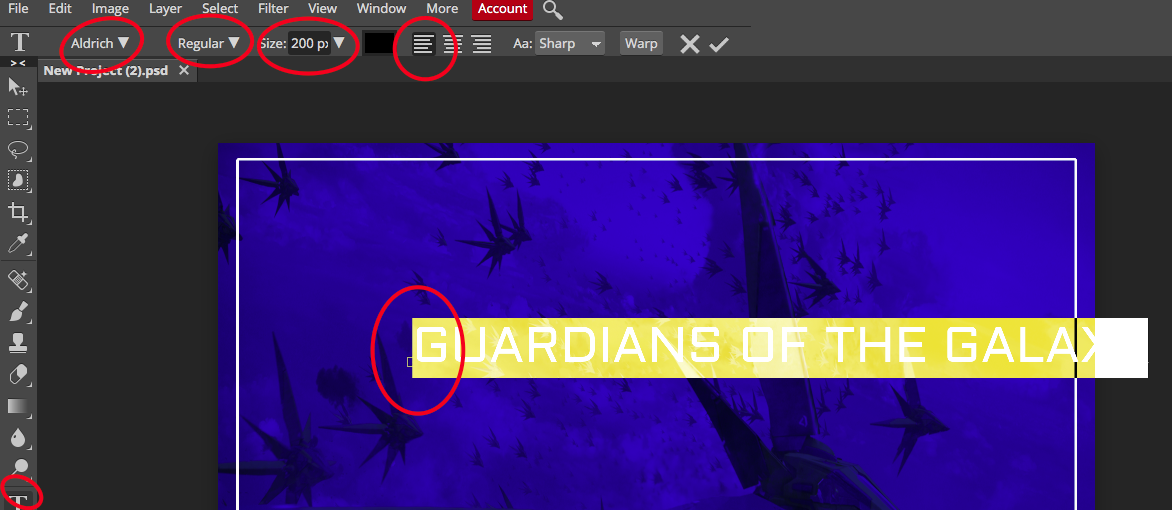
To add Text > Click T Tool
Click anywhere on your page and type.
Use the tools at the top of the screen to help you format:
Font Type
Font Style
Font Size
Font Colour
Font Orientation
Use the Move tool to Position your text
Just drag and drop it to where ever you want.
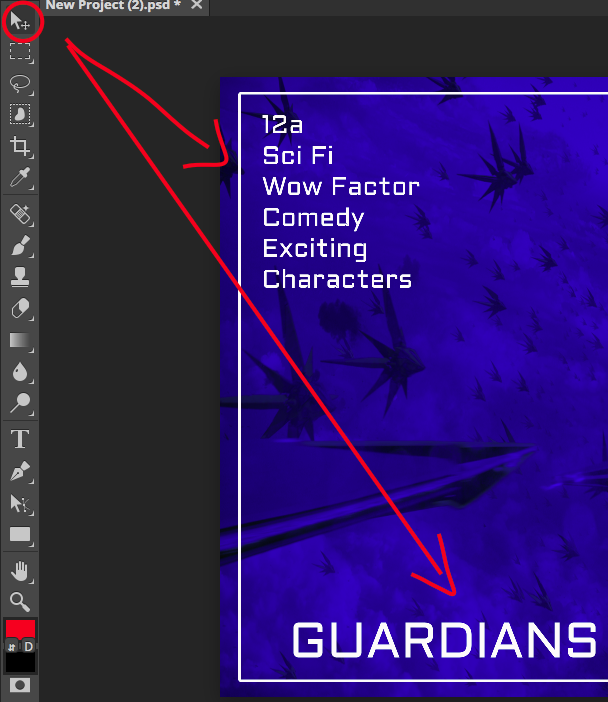
Your layers palette should look something like this.
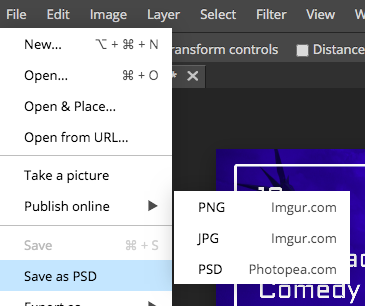
Save your work. If you would like to go back and re-edit then Save it as a PSD file. ALWAYS DO THIS! (You will also be able to use this in photoshop)
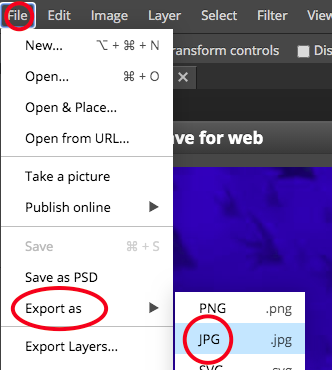
Save a copy for your portfolio then use JPG.
These will download to your computer.
|
|
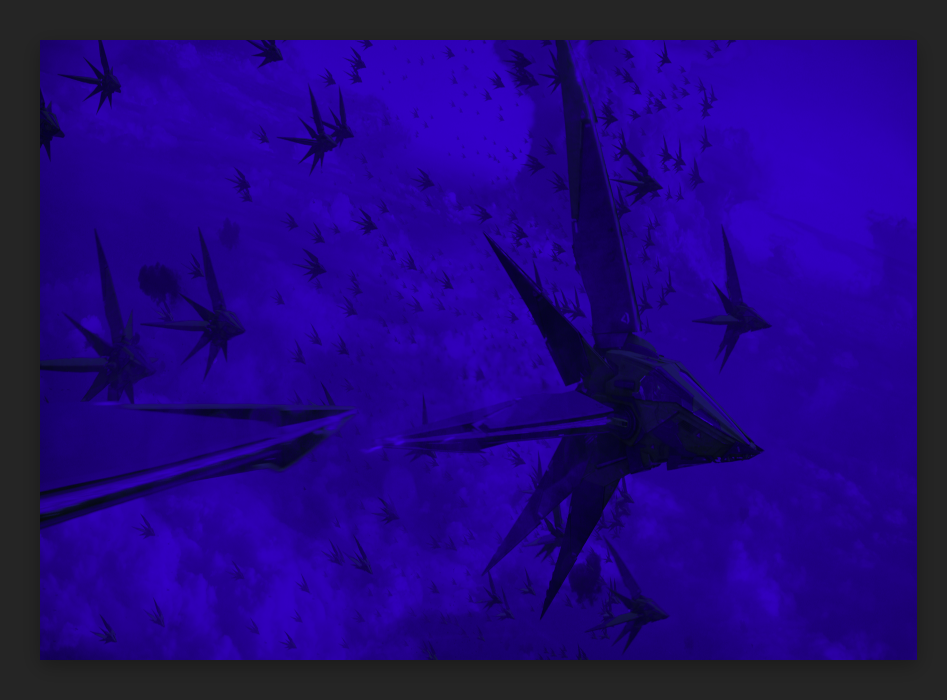
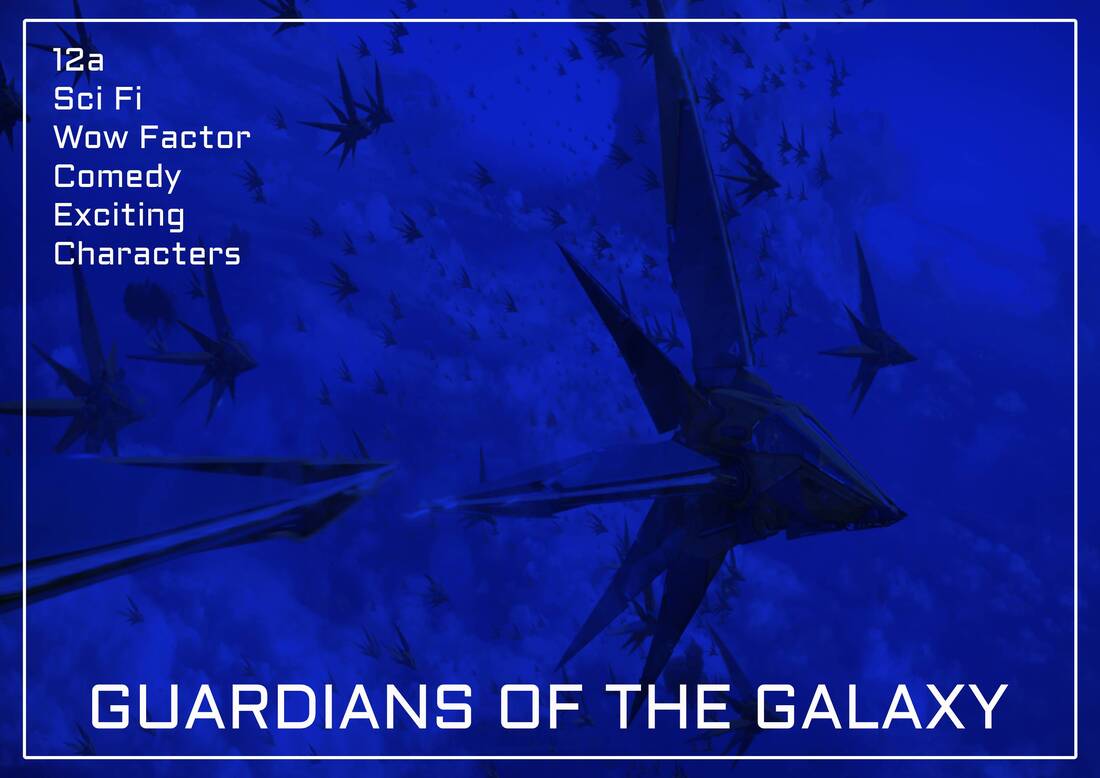
FINAL OUTCOME
TASK
1. Recreate this poster using the techniques above. It must be identical!!
2. Create your own version of this poster using the techniques you have learnt. Research poster designs on the web to help you with inspiration. Keep it simple and remember to use a simple contrast of colours.
Remember to save your work as PSD and JPG
